 how-to
What to Expect During Pool Excavation
Table of Contents
- Pre-Excavation Site Assessment and Preparation
- Understanding Your Pool Excavation Timeline
- The Pool Excavation Process: Stage by Stage
- Site Drainage Solutions During Excavation
- Retaining Walls and Slope Stabilization
- Managing Excess Soil and Site Cleanup
- Common Challenges and How Professionals Handle Them
- What You Should Do Before Excavation Begins
Last Updated: August 25, 2026
Pre-Excavation Site Assessment and Preparation
Before equipment arrives, a thorough site assessment is essential to keep your project on schedule and avoid costly surprises. Your excavation contractor will evaluate soil composition, identify underground utilities, check drainage patterns, and assess slope stability through a physical site visit, not just plan review.
The contractor must mark utility lines using a professional locating service, which is legally required in most areas. Call 811 for free utility marking through your local utility companies. Soil testing is critical: clay-heavy soil behaves differently than sandy soil when excavated, and rocky terrain requires different equipment and longer timelines. A site assessment identifies these variables early.
Discuss drainage with your contractor at this stage. Where will excavation water go? How will the site drain during and after construction? These questions shape the project timeline and may influence whether retaining walls or additional grading work is necessary.
Understanding Your Pool Excavation Timeline
Pool excavation typically takes 3 to 7 days for a standard residential project, depending entirely on your specific conditions (peer-reviewed research).
Factors That Affect Excavation Duration
Lot size and pool dimensions matter, but soil type often has a bigger impact than homeowners expect. Heavy clay soils take longer to excavate than sandy soils. Rocky terrain can add days or weeks if blasting is needed.
Rain saturates soil, making it heavier and slower to move. Wet conditions also create mud and complicate drainage. Utility locations matter significantly, gas, electric, water, or sewer lines near your pool site require careful work that slows progress by 1 to 2 days. Site access affects timeline too: narrow driveways and tight residential spacing naturally take longer than rural sites with open access.
Local permit requirements and inspections can extend the timeline. Some jurisdictions require soil testing or engineer sign-offs before excavation begins. Others require inspections at specific stages. These aren't delays, they're regulatory requirements that protect your investment.
The Pool Excavation Process: Stage by Stage
Understanding each stage helps you recognize normal progress and communicate effectively with your contractor.
Marking and Layout
Your contractor marks the exact pool perimeter using chalk, spray paint, or string lines. Surveying equipment establishes grades to ensure the pool sits level or properly slopes for drainage. This stage typically takes a few hours and is your chance to verify the pool position matches your expectations. Adjustments now cost nothing compared to moving the outline after excavation begins.
Removing Topsoil and Vegetation
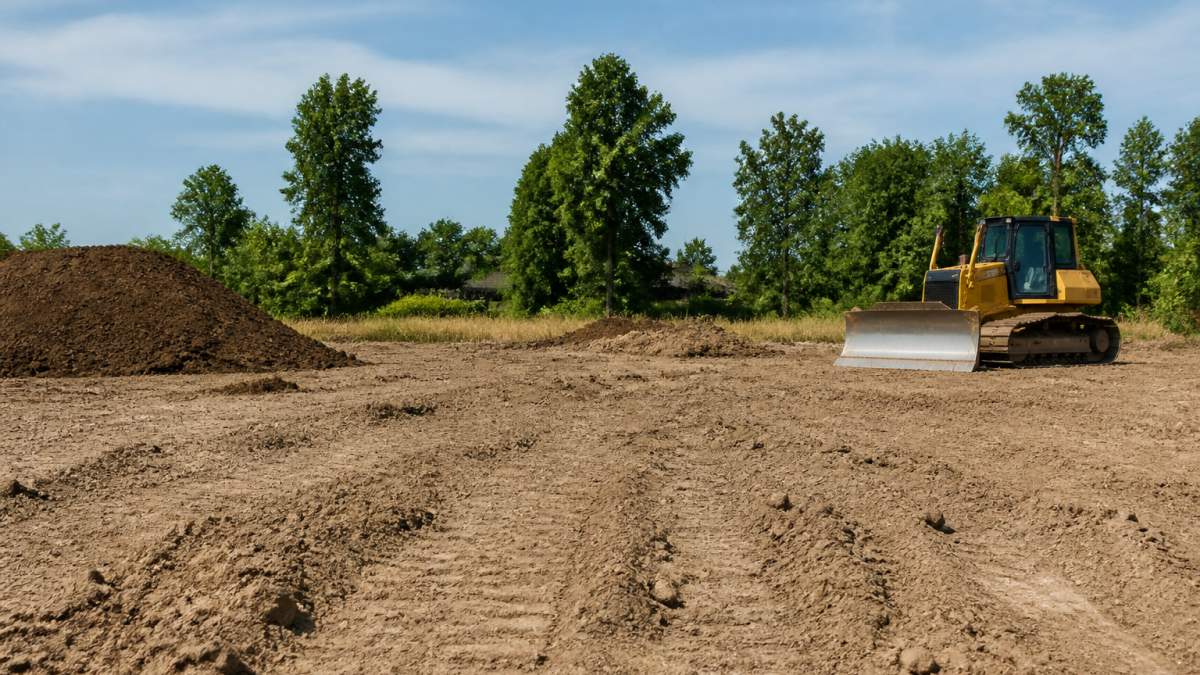
The first excavation work removes the top 6 to 12 inches of soil, grass, roots, and organic material (usda.gov). This material is stockpiled separately for later backfill and landscaping. Removing topsoil exposes the subsoil beneath, which is excavated to form the pool basin. This phase usually takes one day for a standard residential pool. The contractor may wet the area to control dust, which reduces airborne particles affecting neighbors.
Excavating the Main Basin
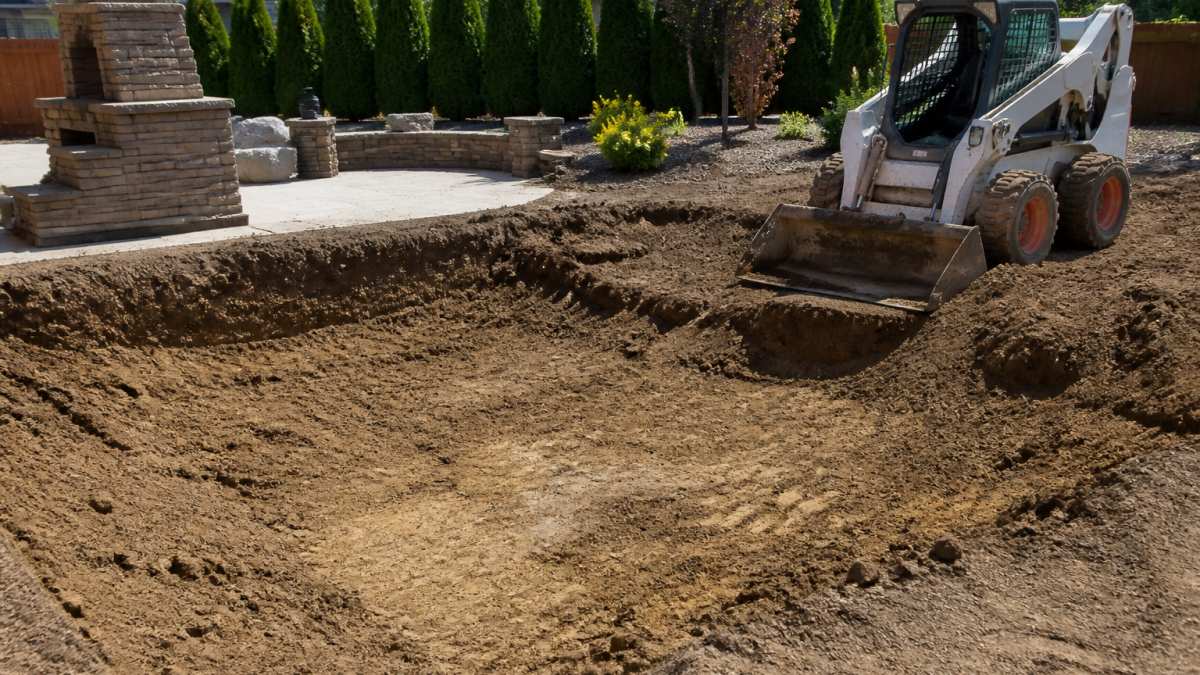
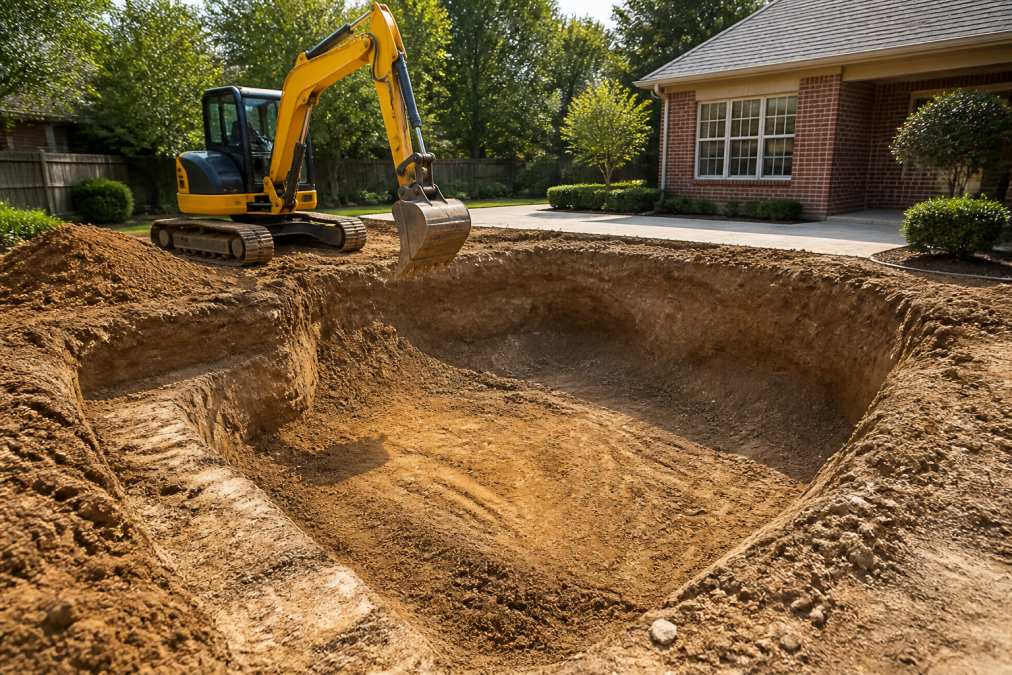
Once topsoil is removed, the crew digs the main pool basin to the depths and dimensions specified in your design. The excavation crew removes soil in layers, checking depth frequently to avoid over-excavating. The final 12 inches are often excavated more carefully by hand or smaller equipment to achieve a smooth, properly graded surface.
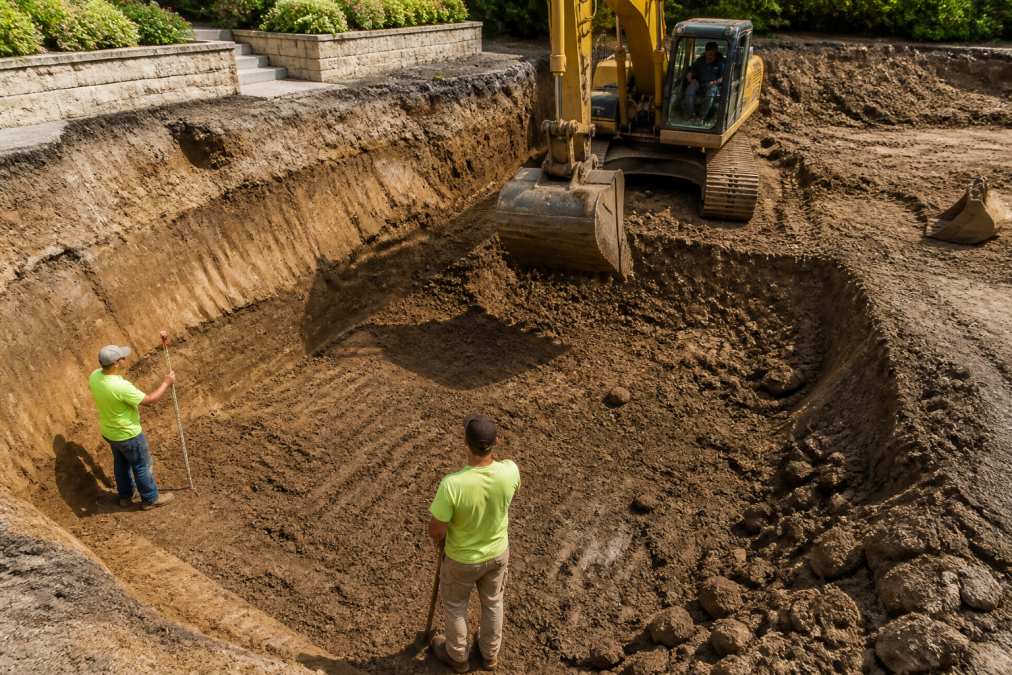
This phase typically takes 2 to 4 days depending on pool size and soil conditions (peer-reviewed research).
Handling Rock and Unexpected Obstacles
Rock encounters are common and a primary reason excavation timelines extend. When the crew hits rock, they carefully extract it, break it up using a rock breaker attachment, or blast it if the volume is large. Unexpected obstacles like old foundations, buried debris, or utility lines not marked on plans add time and complexity. Work stops while your contractor investigates and determines the safest way forward. Budget an extra 1 to 3 days if your site has a history of rock or if your contractor identifies it during the initial assessment.
Site Drainage Solutions During Excavation
Drainage during excavation removes water that accumulates in the basin and manages surface runoff from rain or groundwater seepage. The excavation crew typically installs a sump pump in the lowest point of the basin. Water is pumped away from the site to storm drains, dry wells, or designated drainage areas.
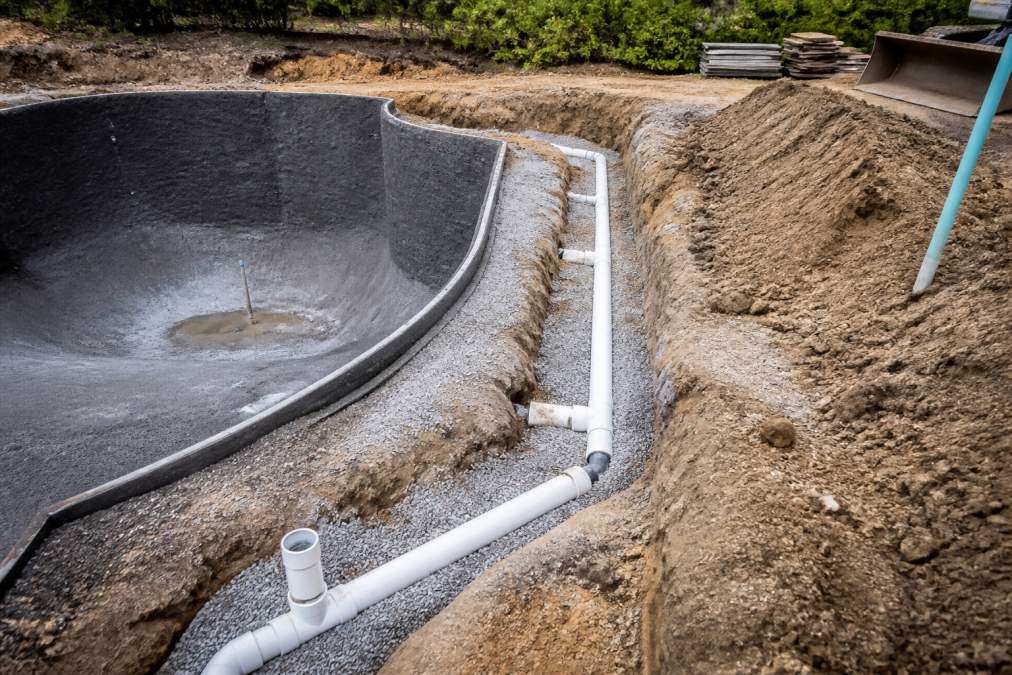
For properties with high water tables or groundwater seepage, stronger drainage solutions are necessary. French drains, perimeter drainage pipes, or subsurface drainage systems may be installed during excavation to prevent water from accumulating beneath or around the pool after construction. Discuss drainage expectations during the initial site assessment, especially if your property has known drainage issues or sits in a low-lying area.
Retaining Walls and Slope Stabilization
If your yard has significant slope or if the pool excavation creates a steep slope, retaining walls or slope stabilization work may be necessary. These structures prevent soil erosion, stabilize the pool basin, and create usable space on sloped properties.
Retaining walls are typically built after the basin is excavated but before backfilling begins. The wall is anchored into stable soil and often reinforced with steel or concrete. The choice between concrete block, stone veneer, or poured concrete depends on your aesthetic preferences, budget, and engineering requirements.
Slope stabilization might involve grading and compacting soil to create stable angles, or installing geotextile fabric and drainage systems to prevent erosion. In Chesterfield and surrounding areas, many properties have moderate to significant slope, making retaining wall work common. Discuss slope work explicitly during your initial consultation.
Managing Excess Soil and Site Cleanup
Excavation produces significant volumes of excess soil. Your contractor may stockpile it on-site for backfilling, grading, or landscaping later. If excess soil exceeds what you need, it's hauled away or given to another project. Some contractors grade your property with excess soil, creating better drainage or reshaping your yard.
The excavation area is cleaned up as work progresses. Equipment is removed, soil piles are used or hauled away, and the site is graded and compacted. By the time excavation is complete, your yard should be ready for the next phase of pool construction. Site cleanup typically happens over the final day or two of excavation work.
Common Challenges and How Professionals Handle Them
Unexpected obstacles and challenging site conditions are normal parts of excavation.
Rock and hardpan are addressed by breaking, blasting, or careful extraction depending on volume and location. This adds time and cost but is unavoidable if rock is present.
High water tables mean the site stays wet and muddy. Contractors manage this with sump pumps, improved drainage, or adjusted scheduling to work during drier seasons.
Utility conflicts occur when marked utilities don't match actual locations or unmarked utilities are discovered. Work stops while utilities are safely exposed and identified, necessary for safety.
Soil instability requires engineered solutions like soil stabilization, compaction, or drainage work. Your contractor and pool designer work together to address these issues.
Neighbor concerns about dust, noise, or equipment access sometimes require schedule adjustments or additional dust control. Professional contractors manage these relationships proactively.
Weather delays are inevitable. Rain, snow, or extreme heat can slow or stop work temporarily. Your contract should specify how weather delays are handled.
Delpres Services LLC approaches these challenges with experience and transparent communication. When complications arise, we explain what happened, why it matters, and what we're doing to address it.
What You Should Do Before Excavation Begins
Your preparation directly impacts how smoothly excavation proceeds.
Call 811 before excavation. This is legally required and free. The utility locating service marks gas, electric, water, and sewer lines on your property.
Clear the work area. Remove vehicles, outdoor furniture, decorations, and anything else from the excavation zone.
Notify neighbors. Let adjacent property owners know excavation is coming. A courtesy heads-up prevents complaints and maintains good relationships.
Confirm utility access. Verify that the contractor has access to water for dust control and confirm where equipment will park.
Review the contract and timeline. Understand what's included, what weather contingencies exist, and what the completion timeline assumes.
Take photos of your current yard. Document the "before" state for your records and insurance purposes.
Plan for disruption. Excavation is loud and dusty. The disruption is temporary but real.
Confirm the design details. Make sure the pool location, size, and depth match your expectations. This is your last chance to request changes before work begins.
Pool excavation is manageable when you understand what to expect at each stage and plan accordingly. The process follows a logical sequence, and most complications are foreseeable and manageable with proper planning. Working with an experienced contractor who communicates clearly and handles challenges professionally makes all the difference. At Delpres Services LLC, we guide homeowners through every phase of pool excavation with transparent communication, professional-grade equipment, and a commitment to delivering a properly prepared site that sets up the rest of your pool project for success. When you're ready to begin, Book Consultation and let us walk you through the excavation process for your specific property.
Frequently Asked Questions
How long does pool excavation typically take?
Most residential pool excavation projects take 3 to 7 days, depending on pool size, soil conditions, and site complexity. Larger pools, rocky terrain, or the need for retaining walls can extend the timeline. Weather also plays a role, heavy rain can delay work. A professional excavation team will provide a realistic estimate during your initial site assessment and keep you informed of any changes.
What should I do to prepare my yard before the excavators arrive?
Mark the pool location clearly with stakes or paint so the crew knows exactly where to dig. Remove or relocate any objects, furniture, or decorations from the work area. Identify the locations of underground utilities like gas, electric, and water lines, call 811 to have them marked before work begins. Ensure the excavation crew has clear access to your yard. Inform neighbors about the project timeline so they expect noise and activity.
What happens if the contractor hits rock or utility lines during excavation?
If rock is encountered, the crew will either excavate around it, break it up with specialized equipment, or adjust the pool depth slightly, your contractor will discuss options and any cost implications. If a utility line is hit, work stops immediately and the utility company is contacted. This is why calling 811 before excavation begins is critical. Professional contractors are trained to handle these situations safely and know local regulations for utility work.
How does site drainage affect the pool excavation phase?
Proper site drainage solutions prevent water from pooling in the excavated area and protect the surrounding yard. During excavation, the crew grades the site to direct water away from the basin and installs drainage systems if needed. Poor drainage can lead to flooding, soil erosion, and structural problems. A professional team assesses your yard's natural slope and water flow patterns to design drainage that protects both the pool and your property during and after construction.
This article was written using GrandRanker