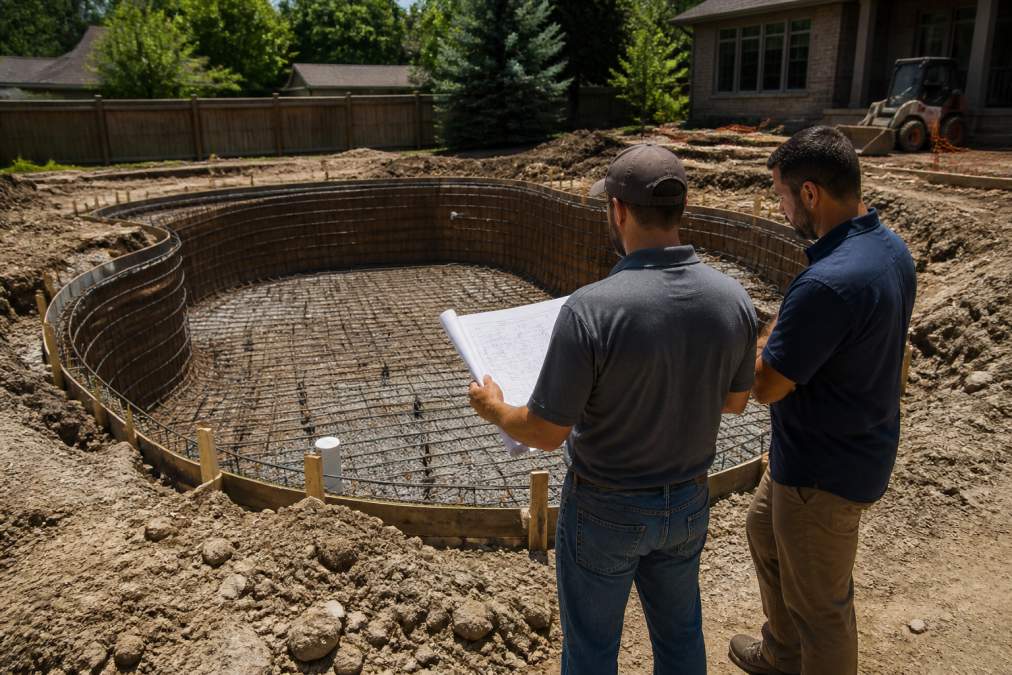
 how-to
How to Manage Backyard Pool Construction
Table of Contents
- Establish Your Project Timeline and Budget
- Secure Permits and Understand Local Compliance
- Plan Backyard Excavation and Grading Best Practices
- Evaluate Site Drainage Solutions vs Retaining Walls
- Coordinate with Your Contractor Throughout Construction
- Manage Site Safety and Inspection Checkpoints
- Handle Final Inspections and Project Closeout
Last Updated: August 21, 2026
Establish Your Project Timeline and Budget
Managing backyard pool construction starts with two foundational decisions: how long the project will take and what you're prepared to spend. A typical inground pool takes 6 to 12 weeks from excavation to final inspection, plus 2 to 4 weeks for permitting. Weather conditions can extend timelines significantly, with spring and early summer being ideal in most climates.
Budget planning requires understanding primary expense categories: excavation, materials, labor, permits, and site preparation. A common mistake is budgeting for the pool shell alone while overlooking grading, drainage, retaining walls, or concrete decking. Get detailed quotes from contractors who itemize every phase, then add a 10-15% contingency for unexpected site conditions.
Document your timeline and budget in writing with your contractor, tracking each phase, expected completion dates, and costs. This becomes your reference point when questions arise.
Secure Permits and Understand Local Compliance
Permits aren't optional obstacles; they protect your investment and ensure work meets building codes. Pool construction typically requires building permits, electrical permits for pump and lighting systems, and sometimes plumbing permits.
In most jurisdictions, you'll submit plans showing the pool's dimensions, depth, location, and setback requirements (typically 5 to 10 feet from property lines) (icma.org). Your contractor should handle this paperwork, but understand that delays here push back your entire timeline.
Electrical compliance is non-negotiable. The National Electrical Code (NEC) sets strict standards for pool wiring, bonding, and grounding. Outlets within 6 feet of the pool must be GFCI-protected (nfpa.org). Lighting must meet specific voltage and placement requirements. Hiring a licensed electrician familiar with pool codes is essential.
Zoning compliance also matters. Some jurisdictions restrict pool size relative to lot size, require fencing, or limit pool locations based on proximity to wetlands. Delpres Services LLC verifies these requirements early because discovering violations mid-construction forces costly redesigns.
Your contractor should obtain permits before starting work. If they ask you to sign off on unpermitted work to save time, that's a red flag.
Plan Backyard Excavation and Grading Best Practices
Excavation is where your backyard pool construction becomes real. Before excavation begins, call 811 to have utilities marked. Gas lines, electrical conduits, water mains, and sewer lines must be identified. Hitting a utility line is dangerous and expensive.
Grading sets the foundation for proper drainage. The excavated area should slope slightly away from the pool to prevent standing water. A slope of 1 inch per 10 feet is typical (icpi.org). Poor grading weakens the pool structure and promotes algae growth.
Soil conditions affect both excavation and pool stability. Clay-heavy soil holds water and may require additional drainage. Sandy soil drains quickly but may need more compaction. Rocky soil requires more excavation time. Your contractor should assess soil conditions early and adjust the plan accordingly.
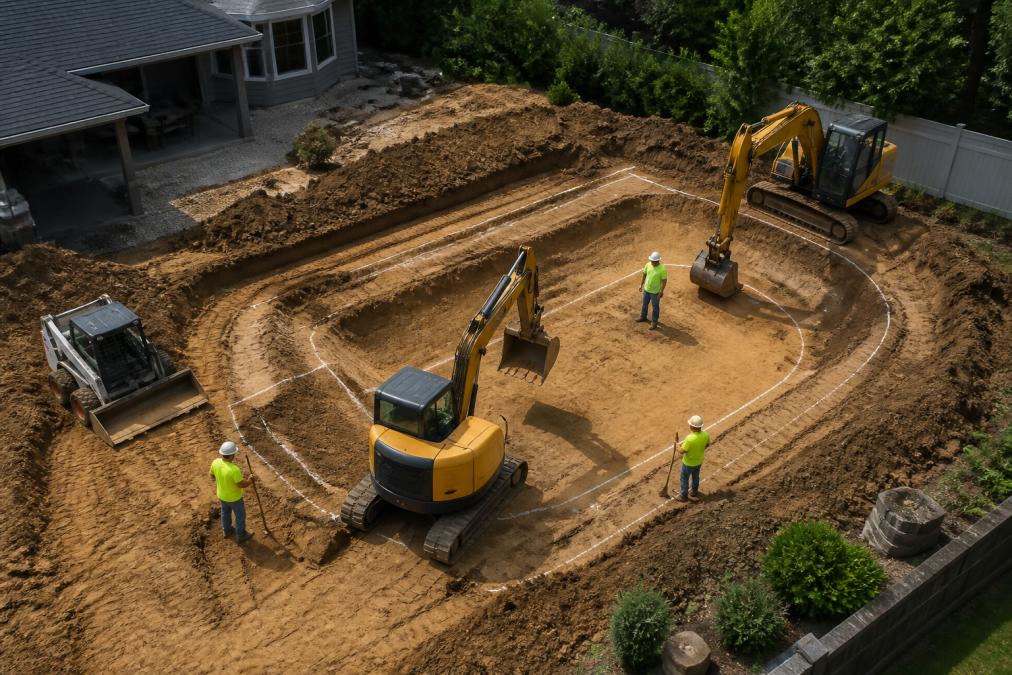
Compaction is critical after excavation. The pool sits on a compacted base, usually 4 to 6 inches of stone or sand that's been mechanically compacted. Inadequate compaction causes uneven settling and stress on the structure.
Document the excavation phase with photos showing the excavated hole, soil conditions, utilities encountered, and grading work. These photos become your record of what was actually done.
Evaluate Site Drainage Solutions vs Retaining Walls
Drainage determines whether your pool area remains stable or becomes problematic during heavy rain. Your site needs proper drainage solutions, a retaining wall, or both, depending on slope and soil conditions.
Drainage solutions work best on relatively flat or gently sloping yards. French drains consist of perforated pipes buried in trenches, surrounded by gravel, that channel water away from the pool area. This approach is less visible and doesn't change your yard's appearance.
Retaining walls are necessary when your yard has significant slope or when the pool is positioned lower than surrounding areas. They hold back soil and prevent erosion while creating a level pool area. Retaining walls are structural elements that must be properly engineered and built to code.
The decision depends on three factors: your yard's slope, soil type, and water table. A gently sloping yard with good drainage might only need a French drain system. A steeply sloped yard almost certainly needs a retaining wall. High water tables require more aggressive drainage to prevent the pool from floating during heavy rain.
Delpres Services LLC evaluates each site individually because the right solution depends on site-specific conditions, not generic recommendations.
Coordinate with Your Contractor Throughout Construction
Coordination is where many projects break down. Establish a communication schedule with your contractor, weekly check-ins work well for most residential projects. Review what was completed, what's scheduled next, and any issues needing attention.
Inspect work at key milestones. After excavation, verify grading is correct and drainage is in place. After concrete work, check that surfaces are level. After equipment installation, confirm all systems function. Catching issues during construction is far cheaper than fixing them after.
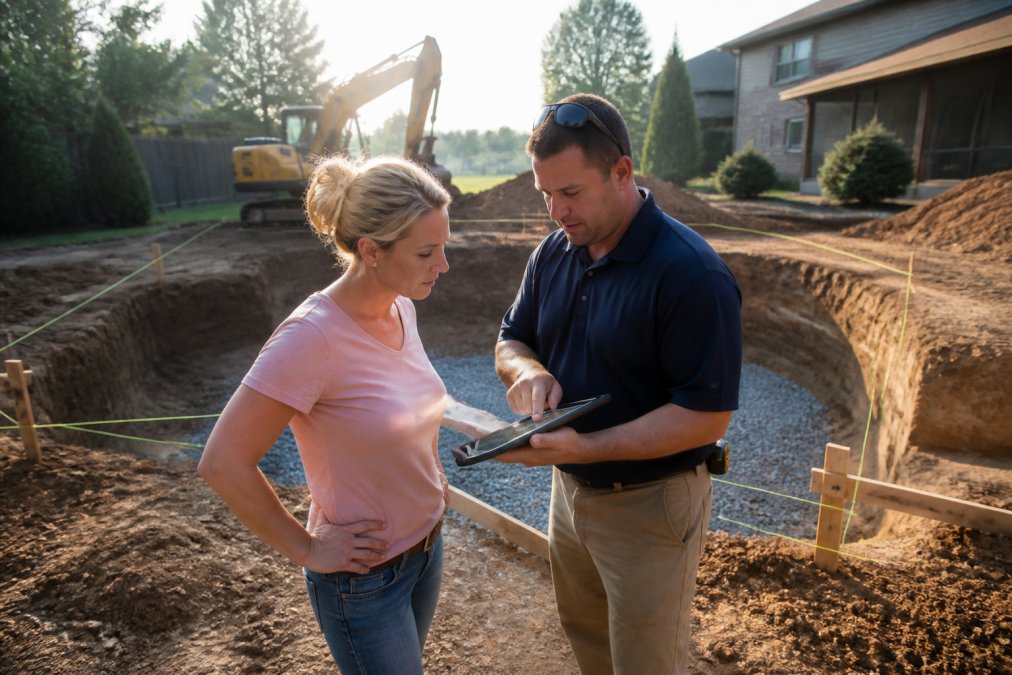
Request written documentation at each phase: photos, as-built plans, and inspection reports. This documentation proves what was constructed versus what was promised.
Manage change orders carefully. If you modify the plan mid-project, get a written change order specifying the scope change, cost impact, and timeline impact. Verbal agreements about changes are the source of most disputes.
Maintain a project file with all contracts, permits, change orders, inspection reports, and correspondence. This file is invaluable if issues arise after the project is complete or if you sell the property.
Manage Site Safety and Inspection Checkpoints
Site safety protects your property and ensures work meets code. Excavation sites with heavy equipment, open holes, and electrical work present real hazards. Your contractor should have safety protocols in place.
Fencing and barriers should surround the active construction area, keeping unauthorized people away from equipment and hazards. If you have children or pets, verify the site is properly secured.
Utility safety is critical. Once utilities are marked, the contractor must maintain awareness of those lines. Verify that your contractor uses proper digging techniques near marked utilities and has spotters when working near hazardous lines.
Inspections are your checkpoint system. Most jurisdictions require inspections after excavation, after concrete work, after electrical rough-in, and before final approval. Your contractor should schedule inspections and be prepared to address any issues the inspector identifies. Never approve covering up work until inspections are complete.
Document inspection results. When an inspector signs off on a phase, that's proof the work meets code. Keep inspection reports in your project file.
Handle Final Inspections and Project Closeout
Final inspection verifies that all systems function, electrical work is safe, drainage works, and the installation meets code requirements. Before final inspection, walk the site with your contractor and verify that all punch-list items are complete.
Request a final walkthrough before the inspector arrives. Verify that all equipment functions: pumps, filters, heaters, lighting, and circulation systems. Test GFCI outlets. Confirm drainage is working. This catches issues before the inspector does.
After final inspection passes, get a copy of the inspection report and all permits marked as complete. These documents are essential for insurance and property sales.
Closeout includes final cleanup and documentation. Your contractor should remove all construction debris, restore landscaping, and leave the site in finished condition. Get a final invoice showing all work completed, permits obtained, and inspections passed. Verify that all invoices are paid and there are no outstanding liens.
Request a warranty document outlining what's covered and for how long. Most pool construction includes warranties on the shell, equipment, and labor. Understand these warranties because they define your recourse if issues arise after completion.
Managing backyard pool construction requires attention to detail, clear communication, and accountability at every phase. Each phase builds on the previous one, and shortcuts in early phases create problems later. Delpres Services LLC manages this entire process as a single accountable team, handling permits, coordination, inspections, and closeout so homeowners in Chesterfield and surrounding areas can focus on enjoying their finished pool rather than worrying about whether the work was done right.
Frequently Asked Questions
What permits are required for backyard pool construction in Chesterfield?
Chesterfield requires a building permit for in-ground pool construction, issued by the local building department. You'll also need a zoning permit to confirm the pool complies with setback requirements (typically 10-15 feet from property lines). A separate excavation or grading permit may be required depending on the scope of site work. Your contractor should handle permit applications and submissions, but verify they understand local requirements before work begins. Contact the Chesterfield Building Department to confirm all current requirements for your specific property.
How do I manage site drainage during pool excavation?
Effective drainage management prevents water accumulation, erosion, and foundation damage. Before excavation, identify existing drainage patterns on your property and plan temporary dewatering if the water table is high. During construction, install sump pumps or French drains in the excavation to manage groundwater. Ensure grading slopes away from the pool and surrounding structures. After backfilling, confirm final grading directs surface water away from the pool and home. Poor drainage during construction can delay the project and create long-term structural issues, so this step is critical.
How long does backyard pool construction typically take?
In-ground pool construction typically takes 8-12 weeks from permit approval to completion, depending on site conditions, weather, and complexity. Permit processing adds 2-4 weeks. Excavation and grading usually take 1-2 weeks, pool shell construction 3-4 weeks, and finishing work (plumbing, electrical, decking) another 2-3 weeks. Winter weather can extend timelines significantly. Your contractor should provide a detailed schedule at the start and communicate any delays promptly. Regular site visits help you track progress and catch issues early.
What should I look for during site inspections to ensure quality work?
Inspect the excavation for proper depth, dimensions, and slope. Check that grading directs water away from the pool and structures. Verify that drainage systems are installed correctly before backfilling. Once the pool shell is in place, confirm it's level and properly supported. During final stages, test all plumbing and electrical connections. Review the contractor's inspection reports and attend municipal inspections when possible. Ask your contractor to explain any deviations from the original plan. Regular oversight prevents costly rework and ensures the finished pool meets safety and durability standards.
This article was written using GrandRanker